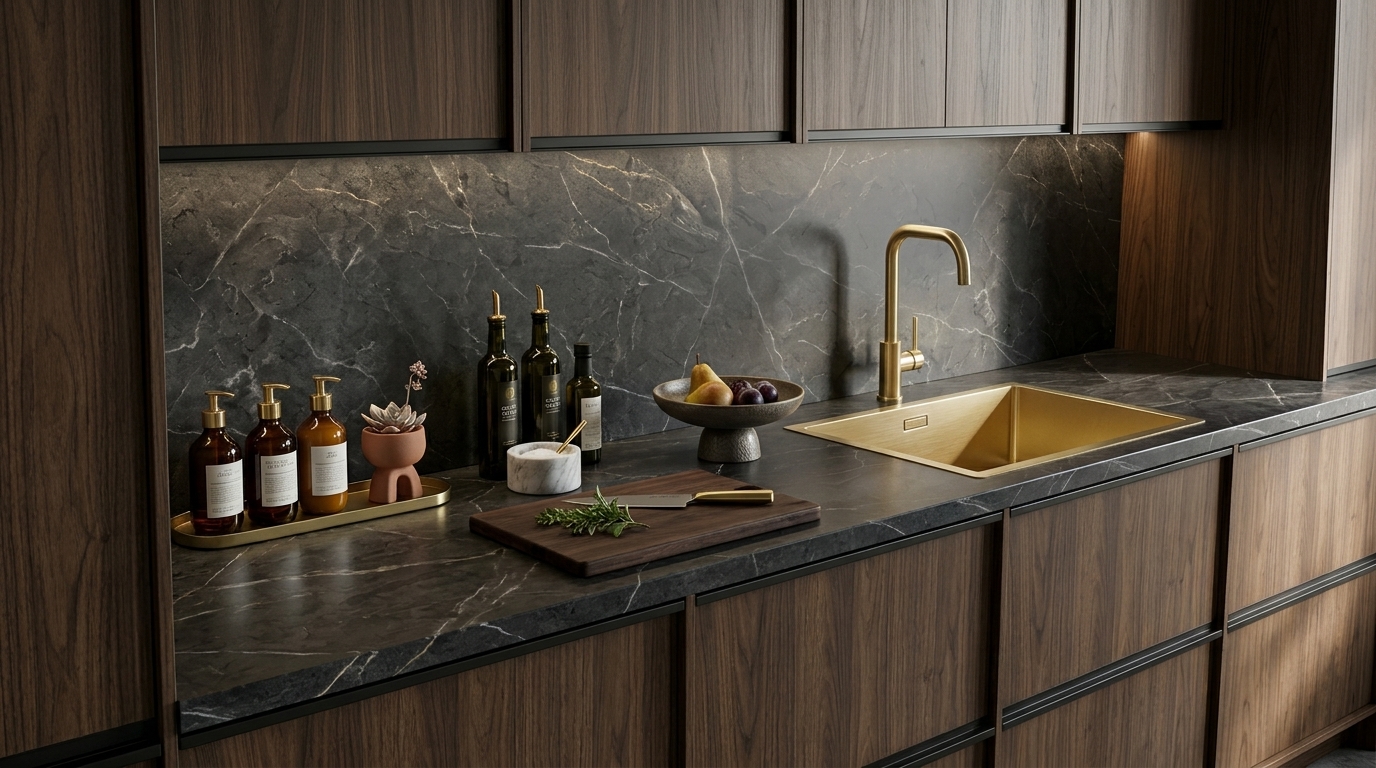
It took Anna and Tom three weeks to choose their new kitchen sink. They looked at colors, the depth of the basin, and the material. They discussed it over dinner and sent photos to friends. One Friday, they ordered the sink they’d fallen in love with.
On Monday, the installer came to fit the countertop. He held the sink over the countertop, looked at the corners, and fell silent. The sink was exactly the right size. But the corners were rounder than the corners of the cutout he had planned, and the countertop had already been marked.
Nothing was broken, but they had to choose a new one and wait all over again. It was a small mistake, and it stemmed from something they’d never even heard of: the shape of the corners.
This happens often and is easy to prevent. Before making a purchase, open the technical drawing, check how the sink is installed, and show the drawing to an installer. Are you unsure about anything? Then ask before you buy and before anything is cut. A countertop cannot be repaired if the cutout is wrong.
Most problems stem from a single mistake. People look at the dimensions in the title—for example, “50 x 40 cm”—and assume that the cutout in the countertop is also 50 x 40 cm. That’s not correct. The title specifies the sink’s dimensions. The countertop requires different dimensions, which depend on how you install the sink.
A note about the numbers: All the numbers in this guide are simple examples to help you understand the concept. Every sink has its own dimensions and its own technical drawing. Always use the numbers for the sink you choose.
Step 1: Choose how the sink will be installed
There are three common ways to install a sink:
- Top-mount, on top of the countertop. The edge of the sink rests on the countertop and covers the cut edge. This is the most forgiving method.
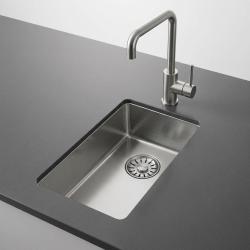
- Under-mount, beneath the countertop. The sink is mounted underneath, and the cut edge of the countertop is visible. The cutout must be clean and precise.
- Flush-mount, level with the countertop. The sink is set into a shallow recess in the countertop so that the top surface is flush. This requires the most precise work.
Each method requires a different cutout. Some sinks can be installed using all three methods, while others can only be installed using one or two. Determine this first, so you’ll know which measurements to refer to next.
Step 2: Check the sink’s dimensions
A sink has more than one dimension. Consider a sink with a basin measuring 50 x 40 cm. The entire sink, including the rim, may be a few centimeters larger—for example, 54 x 44 cm. The cutout for a top-mount sink is usually slightly smaller than the entire sink, so the rim can rest on the countertop. The cutout for an undermount sink is close to the size of the basin. The cutout for a flush-mount sink is close to the size of the entire sink.
You don’t need to calculate this yourself. The technical drawing shows all these measurements for your sink and your installation method. Find the cutout size and use that number, not the size listed in the title.
Step 3: Understand the Radii
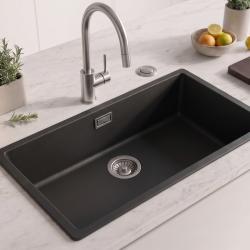
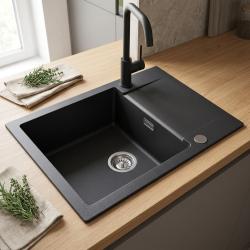
Look at the corner of a sink. Even if it looks square, it’s actually slightly rounded. The size of that curve is called the radius. A small radius creates a sharp, angular corner. A large radius creates a smooth, rounded corner.
Yes, sinks have different radii. Some have almost square corners, with a radius of just a few millimeters. Many sinks have a slight curve, often around 10 millimeters, which is easy for most installers to cut. Others have large, gentle curves of 25 millimeters or more, which you often see in ceramic sinks and classic styles. These are general examples. Each manufacturer uses its own curves.
Here’s what surprises most people: a sink doesn’t have just one radius. There’s a curve on the outside of the sink, and there may be a different curve on the inside of the basin. Those two can be the same, but they can also differ significantly. A sink can have a gentle, rounded basin with a much sharper outer edge—or vice versa.
The countertop also has its own curve, at the corners of the cutout. For a sink that sits on top of or flush with the countertop, the countertop aligns with the outer edge of the sink. For an undermount sink, the edge you see follows the opening of the basin. So the curve that matters isn’t always the same. The technical drawing and your installer will tell you which one to follow.



Step 4: Add the visible gap
Some people prefer a thin, visible gap between the sink and the edge of the countertop. This looks nice if the gap is uniform throughout. However, a gap changes the shape of the cutout, not just its size. If the gap gets larger, the corners of the cutout must be rounded out proportionally.
Suppose a sink has 10-millimeter corners and you want a 3-millimeter visible gap. Then the corners of the cutout in the countertop must be approximately 13 millimeters. If the cutout becomes larger while the corners remain the same, the gap will look uniform along the straight edges but wider in the corners. It’s a small detail, but you’ll notice it every day.
Your installer knows how to plan for this. So be sure to let them know in advance if you want a visible gap.
Step 5: Check whether the corner can be cut
Corners are created using tools, and every tool has its limits. A router cannot cut a corner that is sharper than half its own width. For example, a 20-millimeter router bit can create corners with a radius of no more than 10 millimeters. Very sharp corners sometimes require a special machine. Some materials, such as stone and quartz, can also crack at sharp inside corners. That’s why installers often opt for a gentle curve.
This means that the sink you love and the countertop you’ve chosen must also be suitable for the person who will be cutting them. If the sink has very sharp corners, a good installer will point this out before you pay. He can then suggest a different sink or a different installation method.
So don’t wait until the day of the installation. Show the technical drawing to your installer before making the purchase and ask: “Can you cut this into my countertop?” It takes ten minutes and could save your countertop.
Step 6: Sinks with one and a half bowls
A sink with a large and a small basin requires a longer cutout and a wider base cabinet. First, check the width of your base cabinet and look at the minimum cabinet width on the product page. Also decide whether the large basin should go on the left or right. Consider the placement of the faucet and the drainboard, as these cannot be easily changed later.
Checklist before you order
- Choose how the sink will be installed.
- Measure your base cabinet and check the sink’s minimum cabinet width.
- Open the technical drawing and find the cutout dimensions for your installation method.
- Note the corner radius, both outside and inside.
- Decide whether you want a visible gap and let your installer know.
- Show the drawing to your installer and ask if the cutout can be cut.
- If a template is included, ask for it and test it on cardboard before the countertop is cut.
Can’t find all the information you need on the product page? Then ask the store or the manufacturer. A good store will be happy to help you.
Common Mistakes
- Using the measurement from the title as the cutout size
- Confusing the outer curve with the curve inside the basin
- Forgetting that a visible gap makes the cutout and the corners appear larger
- Choosing a sink with very sharp corners without asking if they can be cut
- Cutting the countertop before checking the drawing
Anna and Tom now say they would do it differently. They would have chosen the same sink, but they would have shown the drawing to the installer first. That would have taken just one phone call.


Frequently Asked Questions
What size should the cutout for my sink be?
Use the measurement on the technical drawing for your installation method. Do not use the measurement from the product title.
What is a corner radius?
It is the size of the curve at the corner of a sink or a cutout. A small number indicates a sharp corner, while a large number indicates a rounded corner.
Are there different types of radii?
Yes. Some sinks have almost square corners, many have a slight curve, and some have large, gentle corners. A sink can also have one curve on the outside and a different curve inside the basin.
Which curve should my countertop follow?
That depends on the installation method. The technical drawing and your installer will tell you. If you’re not sure, ask before making a purchase.
Can I cut the countertop myself?
It’s possible, but a wrong cut cannot be fixed. We recommend having an installer do the work, or at least having them check your plan.
Should I talk to an installer before or after I make my purchase?
Before. They can compare the diagram to your countertop and tell you whether the sink is a good choice.
How can I check the angle of my old sink?
Place two rulers along the straight sides so they meet at the corner. Measure from that point to where the curve begins. That will give you a rough idea. The diagram of the new sink is always more accurate.


